There are 4 types of environments in Dynamics 365 Finance & Operations:
- Standard: This is provided to customers by Microsoft, via Microsoft subscription. It basically includes 2 environments, Production and UAT (Tier-2 Standard Acceptance test environment).
- Add-on: This is an extra environment the customer has purchased, addition to standard environments. These can be Tier-2, Tier-3, Tier-4 or Tier-5.
- Cloud-hosted: These environments are Tier-1 environments or demo environments, which are managed by customers or MS partners.
- Environment image (VHD): These are Tier-1 environments which are hosted on-premise using a VHD.
Here we will talk about Deploying a Tier-2 environment, which is an add-on
To Configure a T2 Environment of Dynamics 365 Finance and Operations, follow the below steps
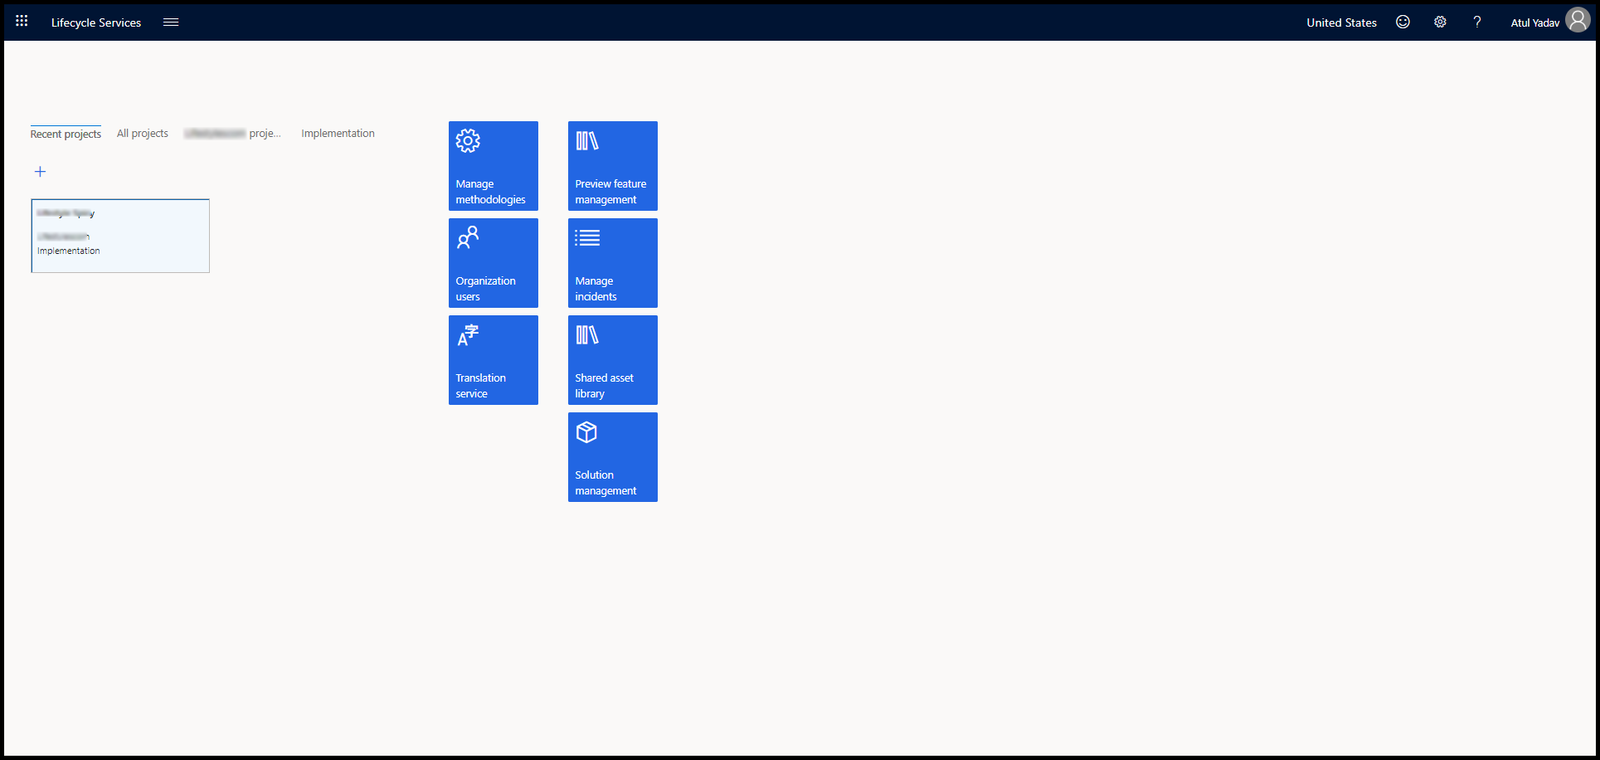
Login to LCS with an “environment manager” or a “project owner” role(This is one of the prerequisites on How to configure a T2 Environment in Dynamics 365 Finance and Operations LCS)
You will see all the Tier-2 environments on the right side. The one which is not configured you will see as shown below.
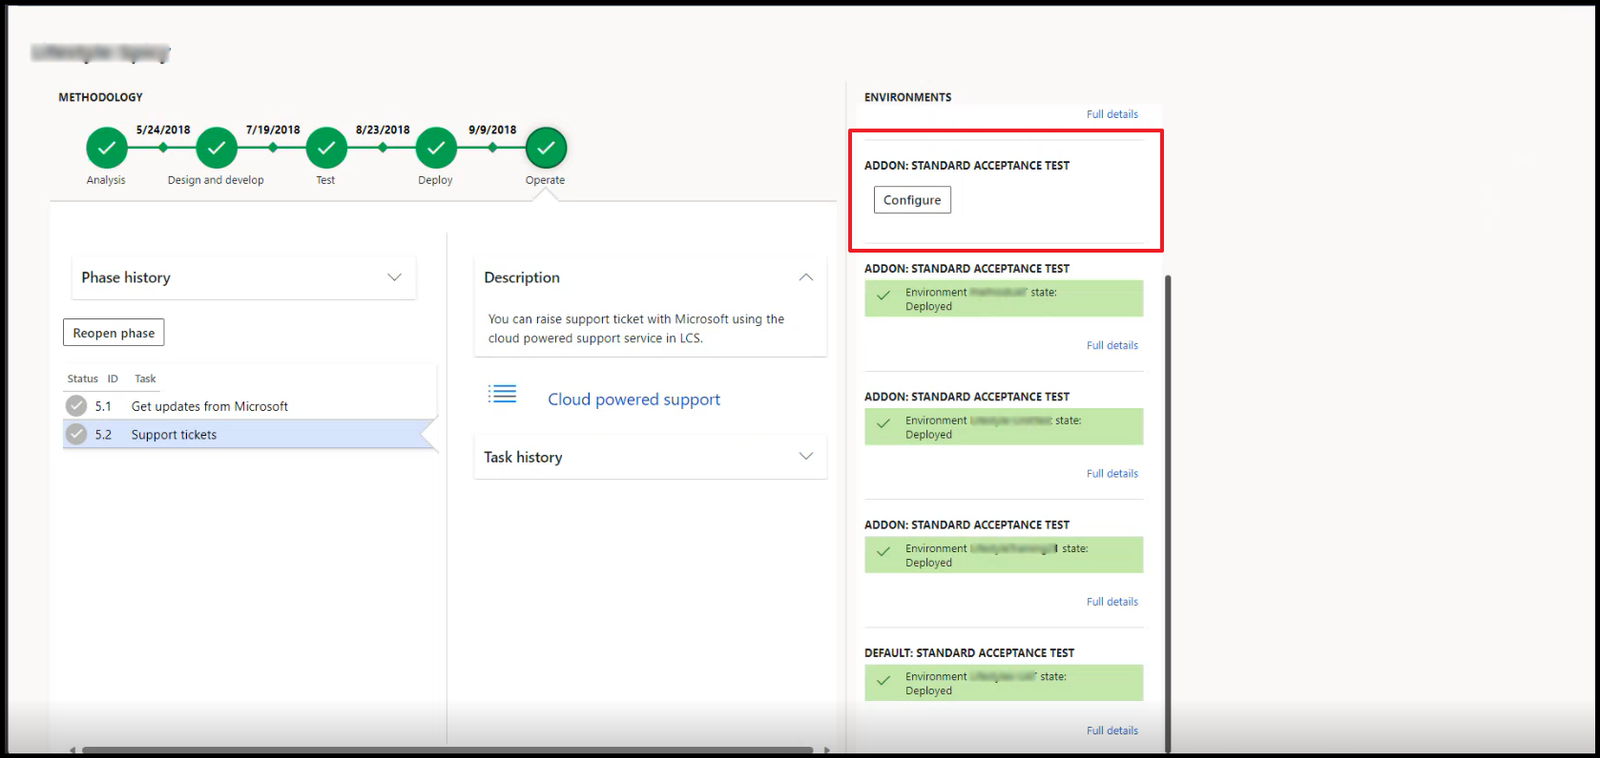
Click on configure, you will see a dialog box like below.
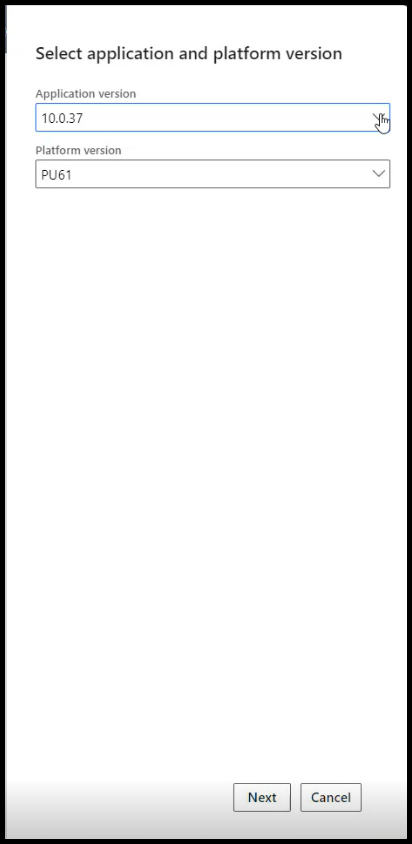
Select the application version and platform version, and click next.
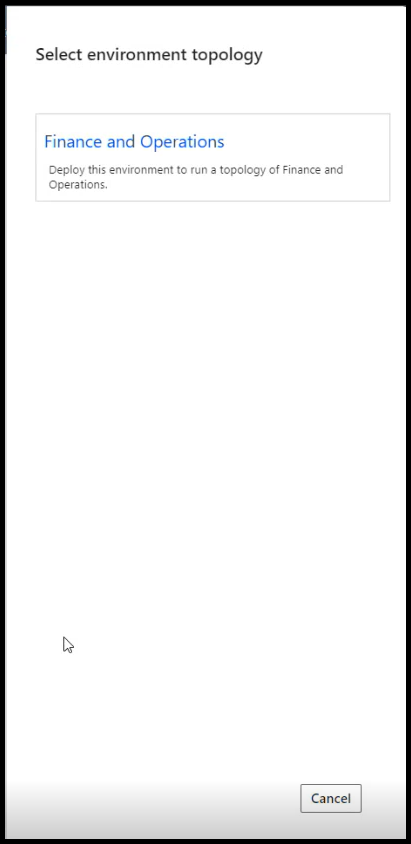
Now you will see the environment topology, select it. It will take you to the next dialog page as shown below.
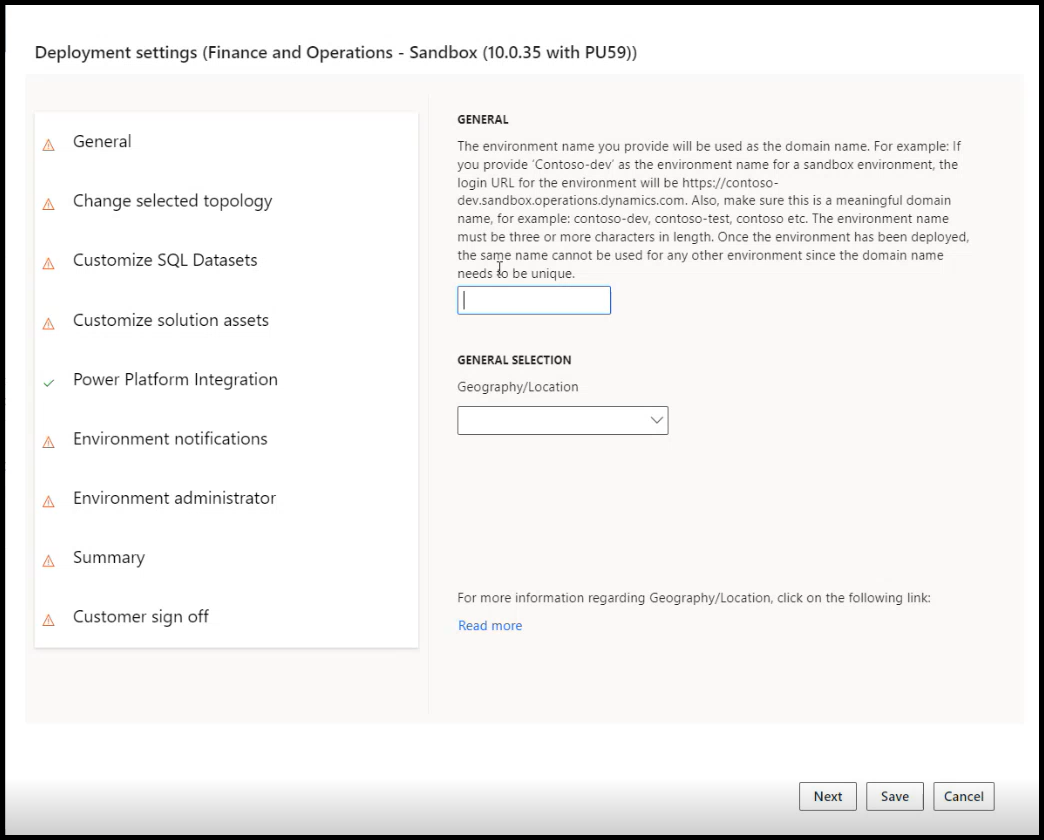
Give a suitable name to the environment in 1st field and in the 2nd field select your region.
Click Next. You will see the next screen like this.
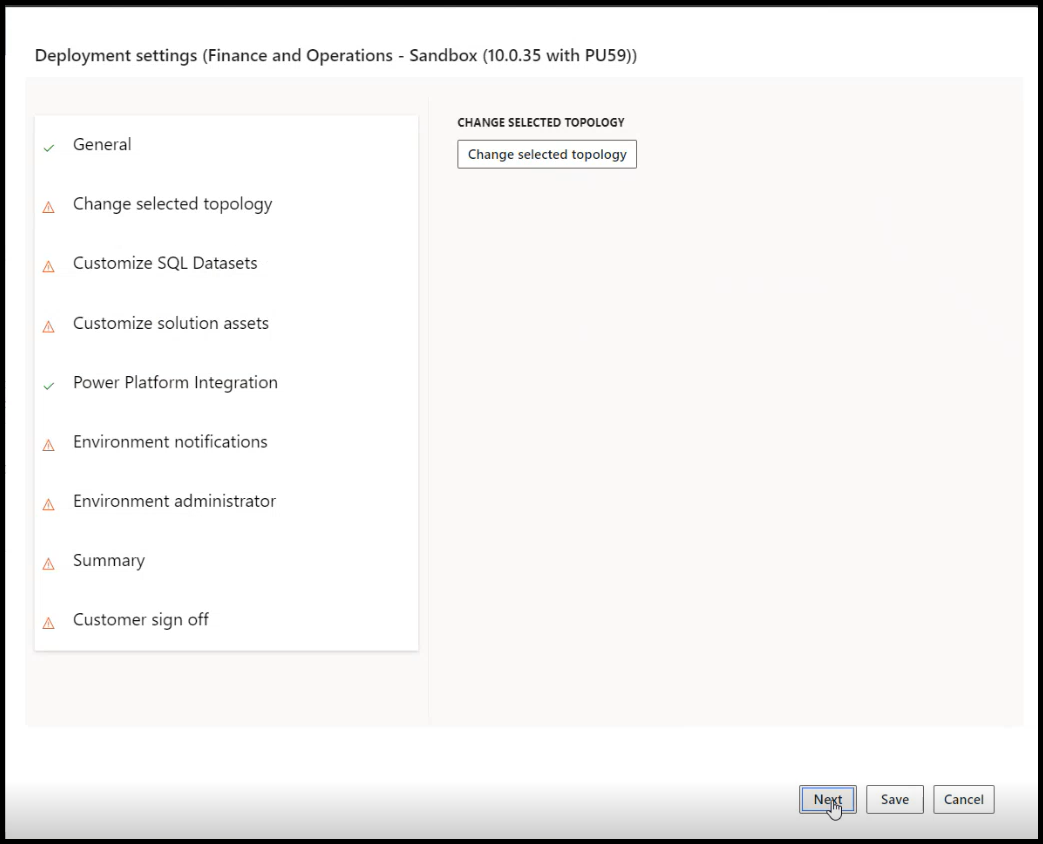
Click next, and you will see the below screen. (You are done half way on How to configure a T2 Environment in D365 FO LCS).

Now select the DataSet for the application database, in my case I will select none as shown below.

Now click next, and you will see a BPM library screen as shown below, click next.
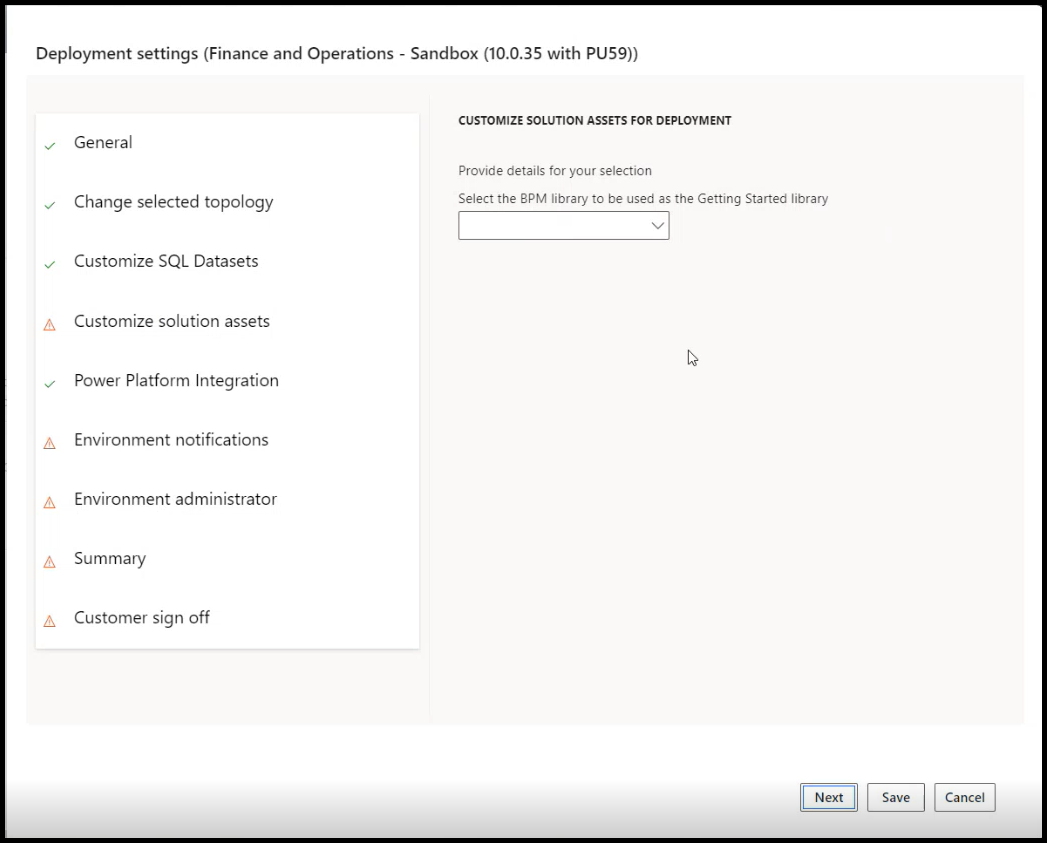
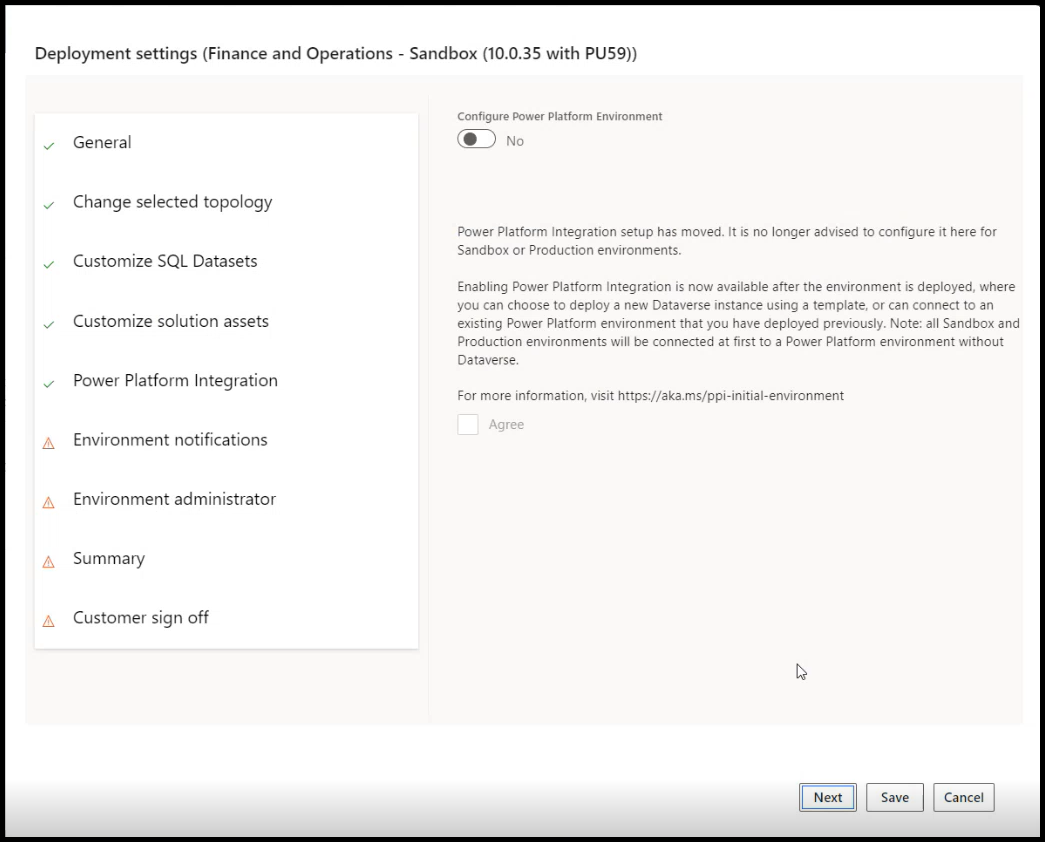
The next screen shows Power Platform Integration(If you want to enable click on it else click next).
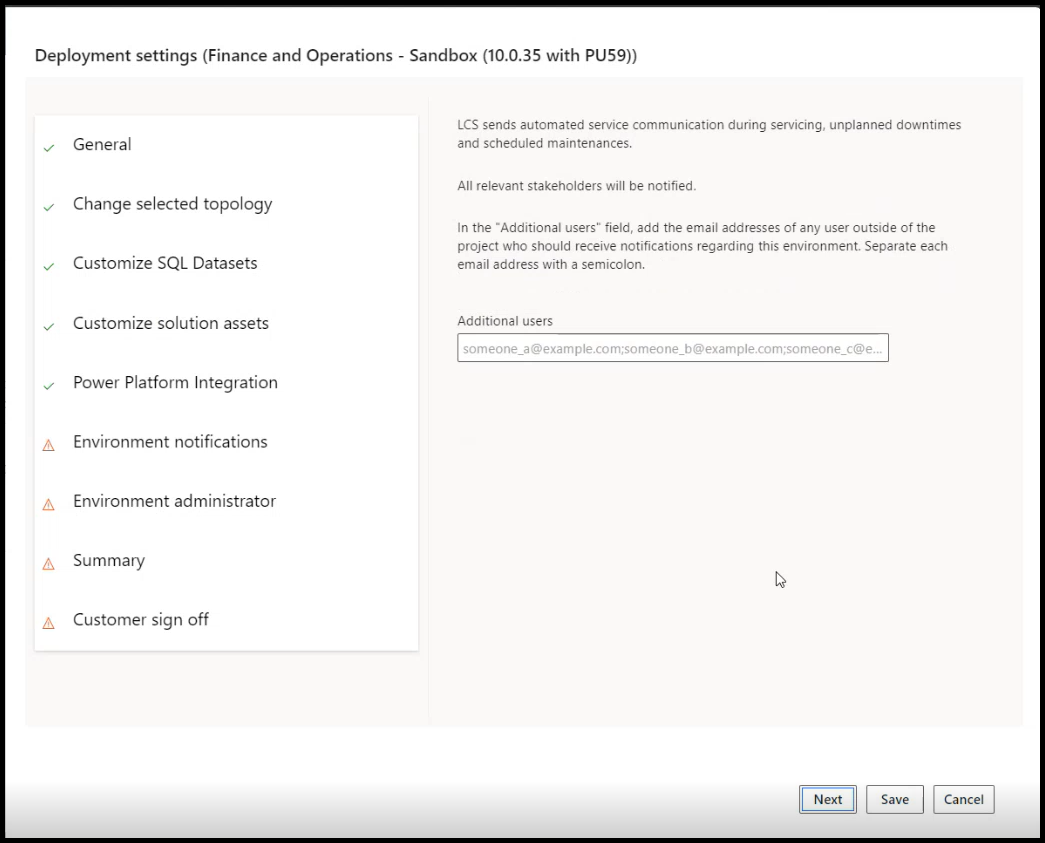
Click next, and you will see the “Environment Notifications” screen where you can enter the email ID of users who need to receive notifications regarding the environment, click next.
Now you will see the Environment administrator screen where you can set the administrator of the environment. as shown below.
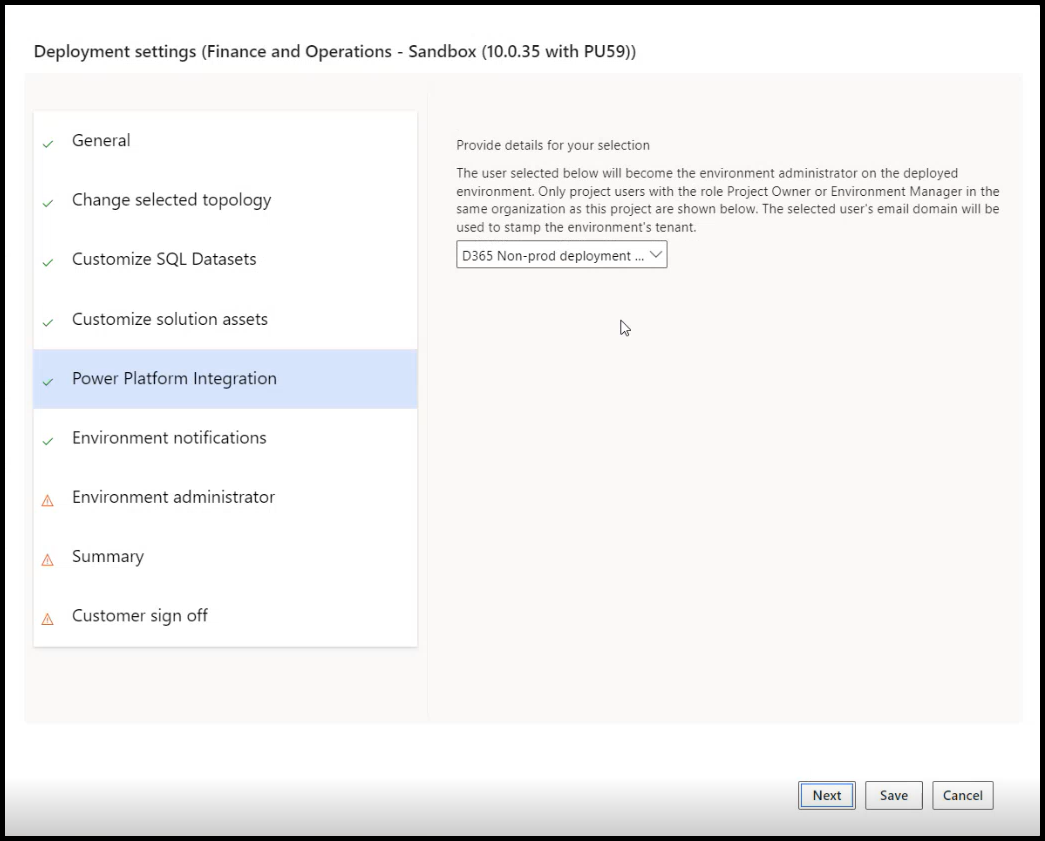
After selecting click next. Then you will see a screen like below.
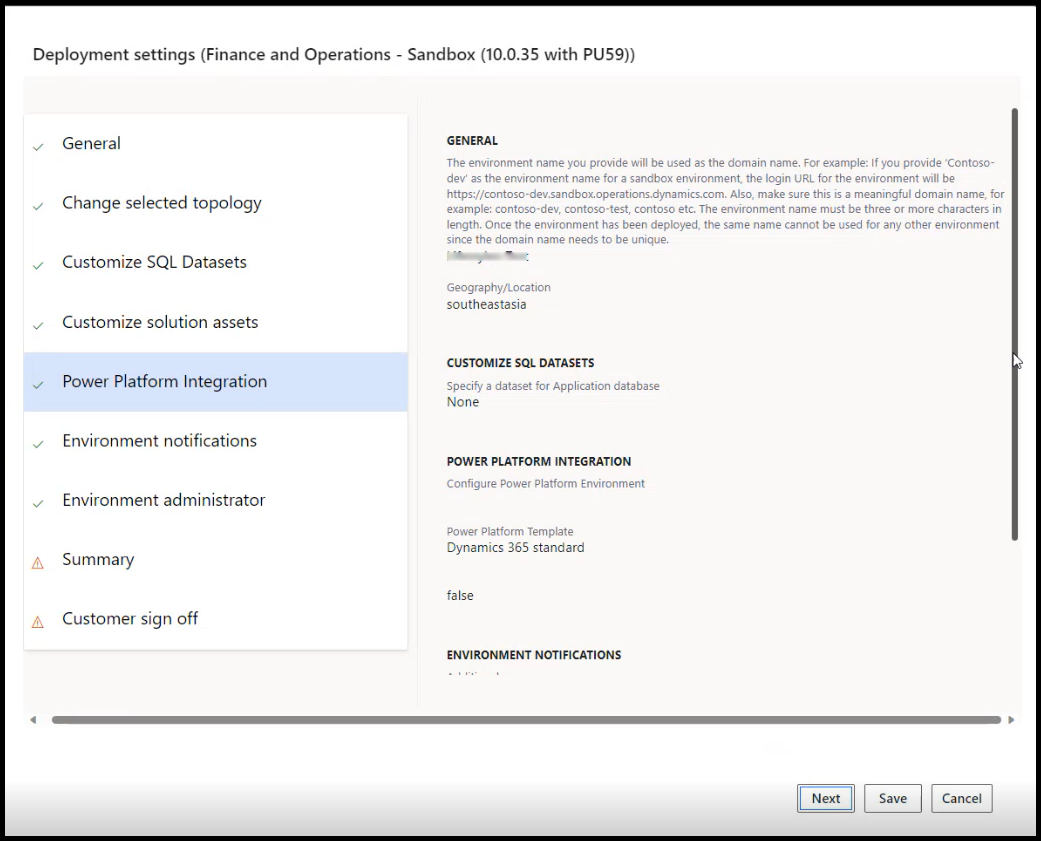
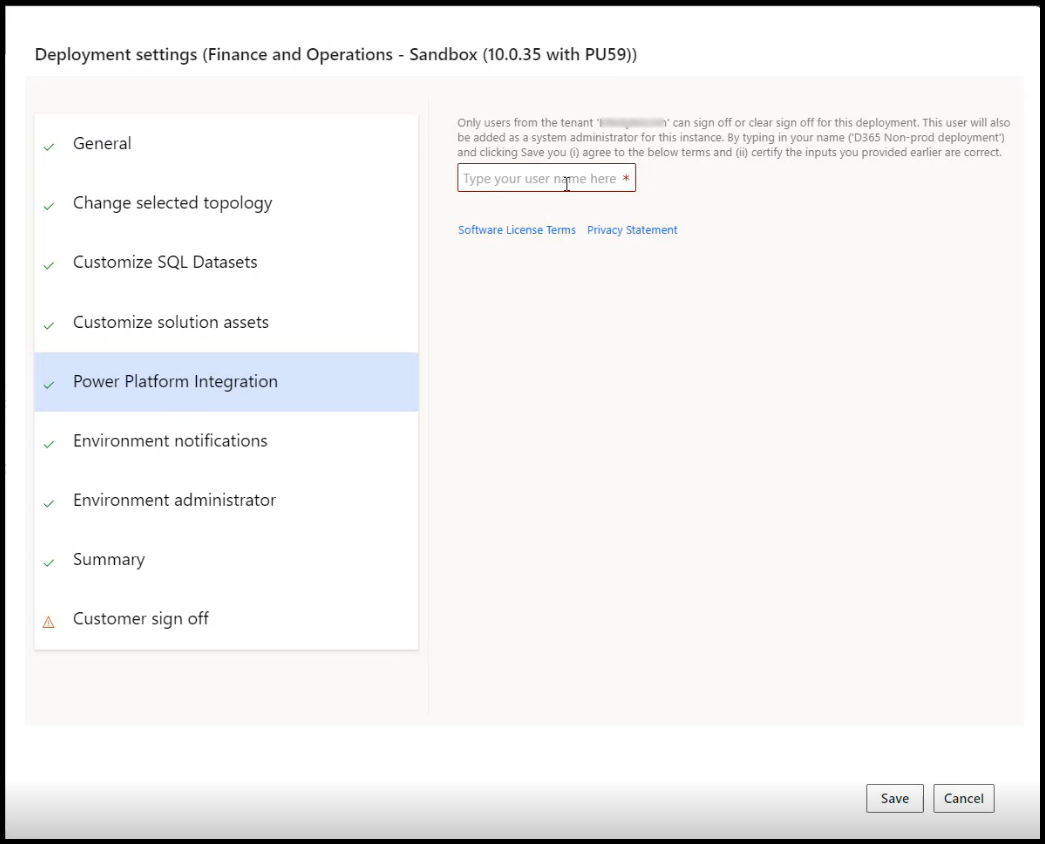
Now click next, and you will see a screen like below for “Customer sign off”, type in your admin name and click Deploy.
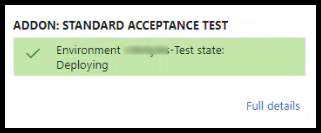
Now your environment will deploy and you will see the state as Deploying as shown below. You may click on ‘Full details’ and you will be able to see all the details of that environment.
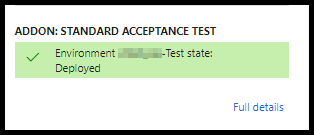
This will take an average time of 2 hours depending on the type of environment and various other factors. You can monitor the deployment progress from the Environment section. Once it is deployed you will see the state as Deployed, as shown in the picture below.
Need help? Connect Atul
His proficiency in Azure integration further distinguishes his capability, facilitating seamless connections with Dynamics 365 F&O and enhancing business operations. Committed to project success, he provides ongoing support and shares industry insights through his blog, contributing to the professional community's growth.
- Key Vault parameters in Dynamics 365 F&O - July 29, 2025
- User-based authentication RSAT - July 22, 2025
- Boost First-Load Performance in Dynamics 365 F&O with IIS Preload - July 15, 2025
Hi Atul, excellent blogs
Kindly let me know about the
1.
Client
AOS
Database
for all the Tier like Tier1, Tier2, Tier3, Tier4 or Tier5
2. Dev environment is in Which Tier?
Kindly elaborate please.
thanks in advance!
Hi Atul, kindly response on this pls.