A Virtual entity in Dynamics 365 Finance and Operations is an abstract entity that does not store data in Dynamics 365 Finance and Operations database(AxDB) itself. These entities behave like regular Dynamics 365 Finance and Operations entities but interact with data in real-time from the external source without duplicating it in Dynamics 365 Finance and Operations. A Virtual entity in dynamics 365 are useful for integrating D365 with third-party applications or databases when real-time integration is required. For instance, an organization could use a virtual entity to get real-time data in power apps or any 3rd party that is not part of the Dynamics 365 Finance and Operations environment.
Configure Dataverse virtual entities
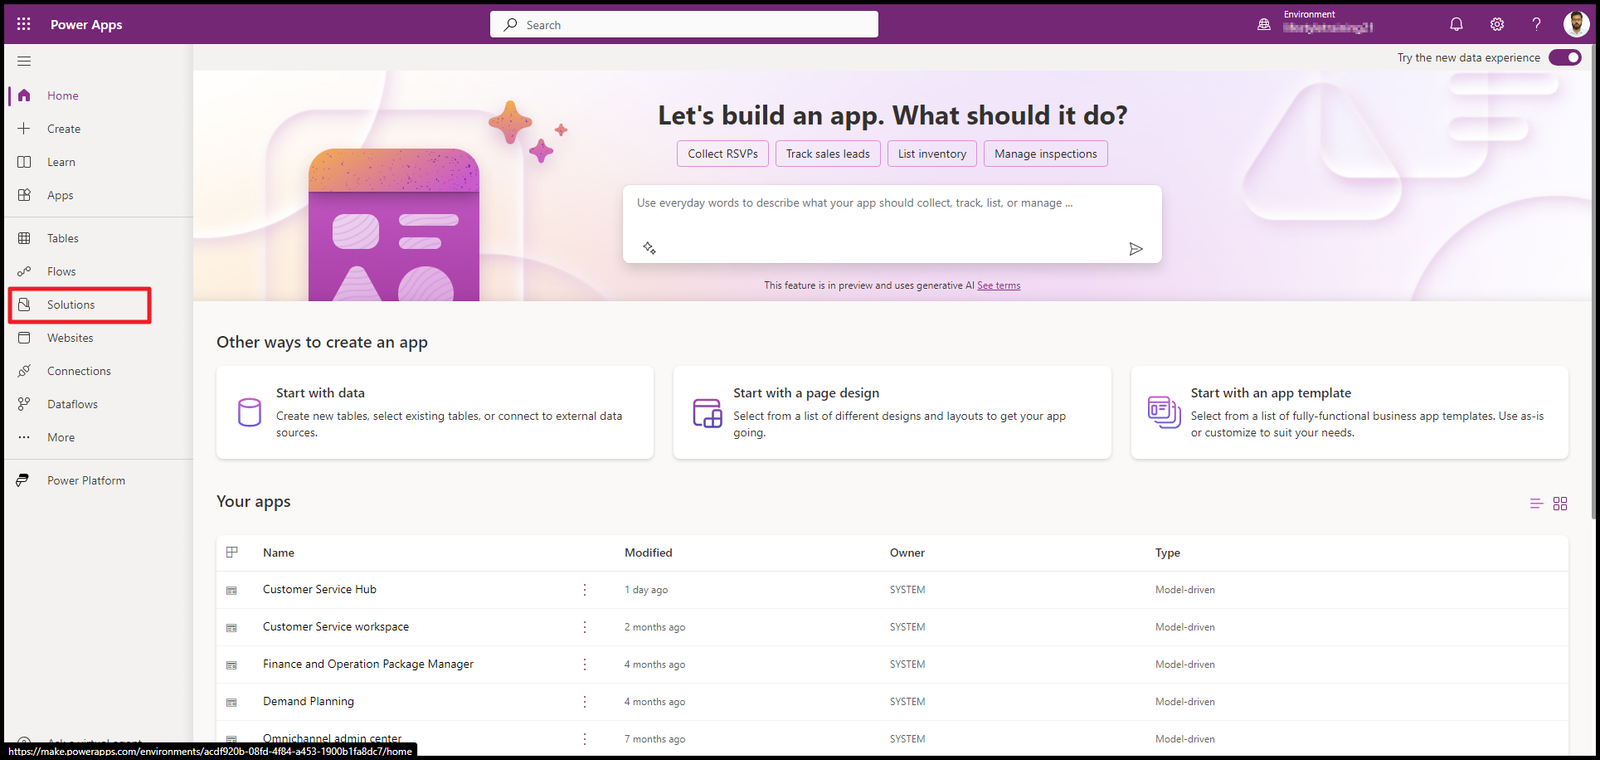
Step 1: Go to Power apps portal
Now click on solution as shown below
Now you will see a screen like below, now click on Open AppSource
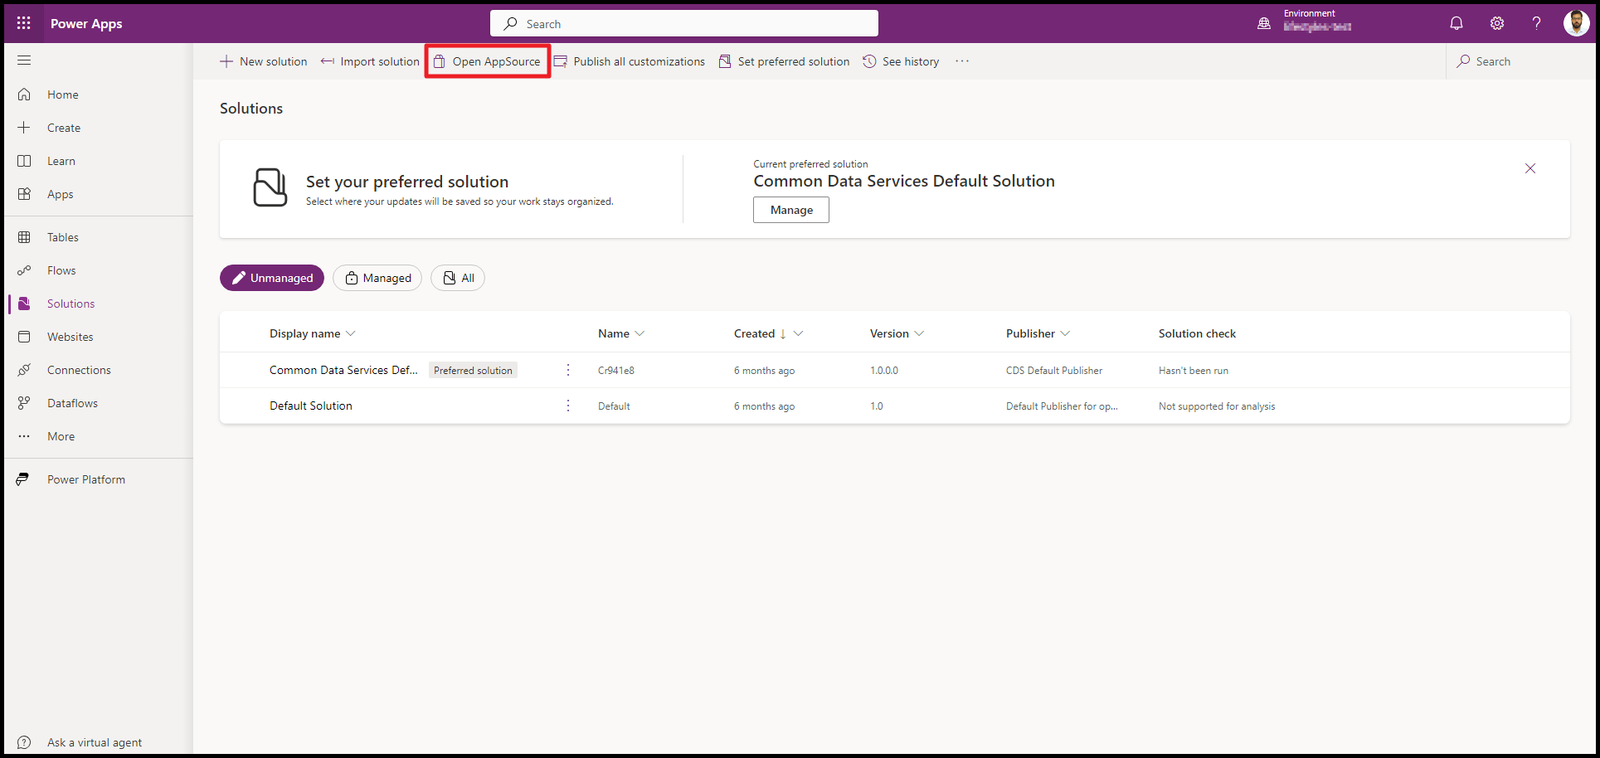
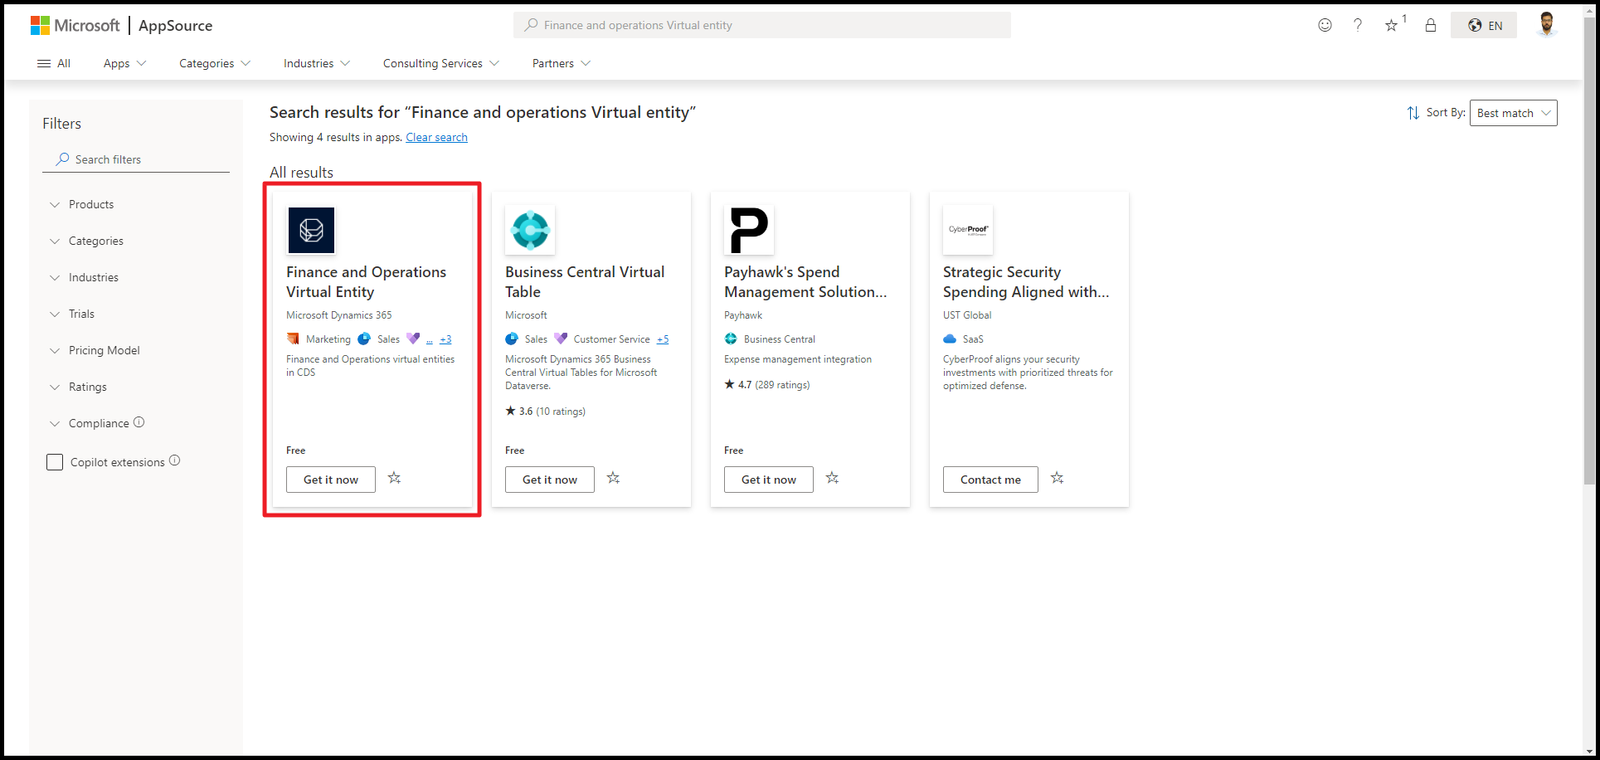
Once you click on it, Microsoft appsource will open, now search for “Finance and operations Virtual entity”, you will see a screen like below
Click on get it now, it will take you to Power platform admin centre and start to install after taking permision. Then ti will start to install as shown below,
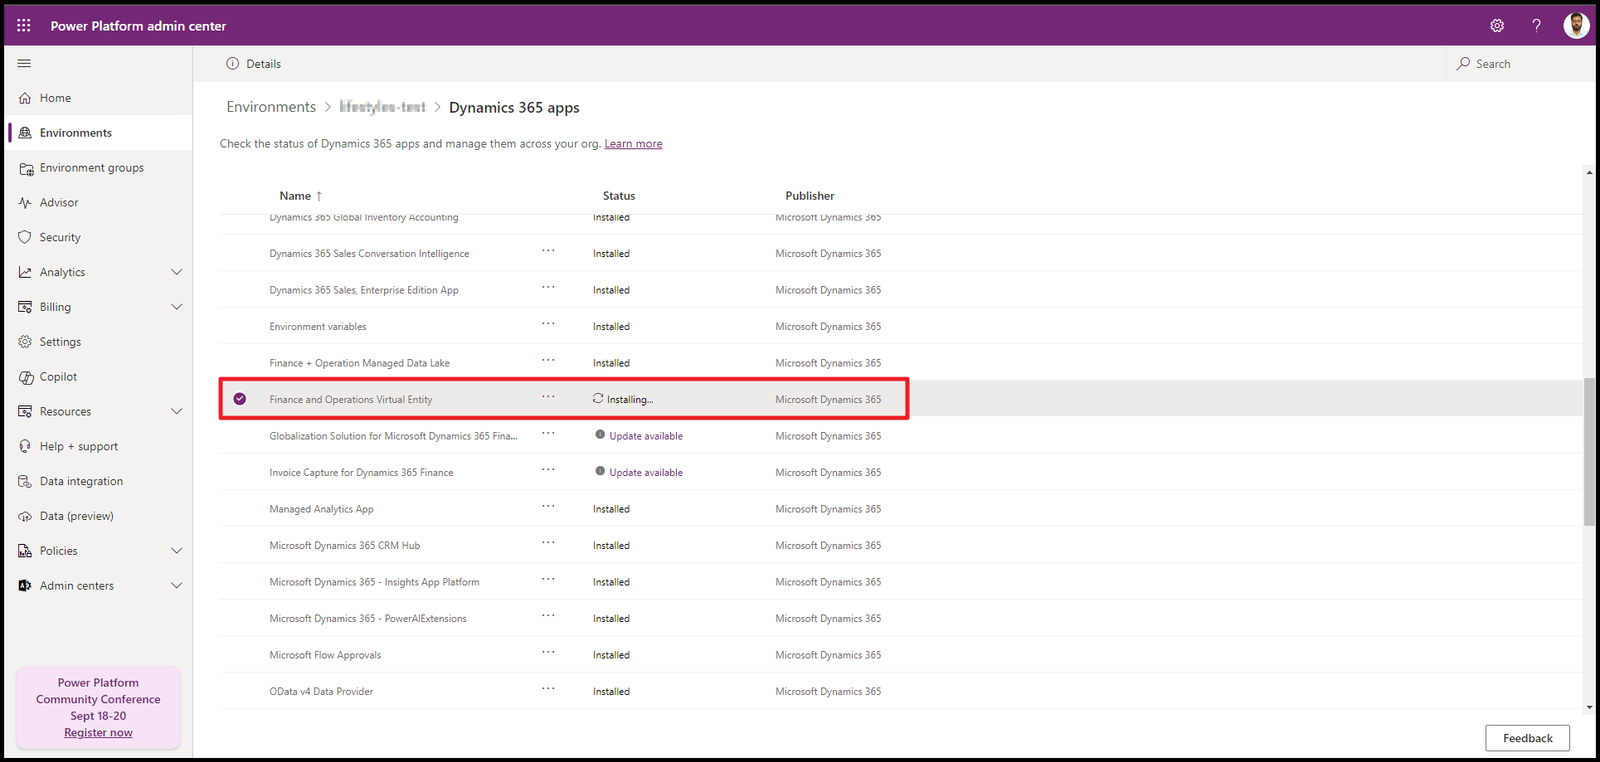
It will take few minutes.
Step 2: Create an App Registration in the Azure Portal
App Registration in the Azure Portal
Step 3: Now in Dynamics 365 give below role to the service account you want to use for Virtual entity.
“CDS Virtual entity application“
1. Dataverse Virtual entity anonymous user
2. Dataverse Virtual entity authenticated user
3. Dataverse Virtual entity integration app
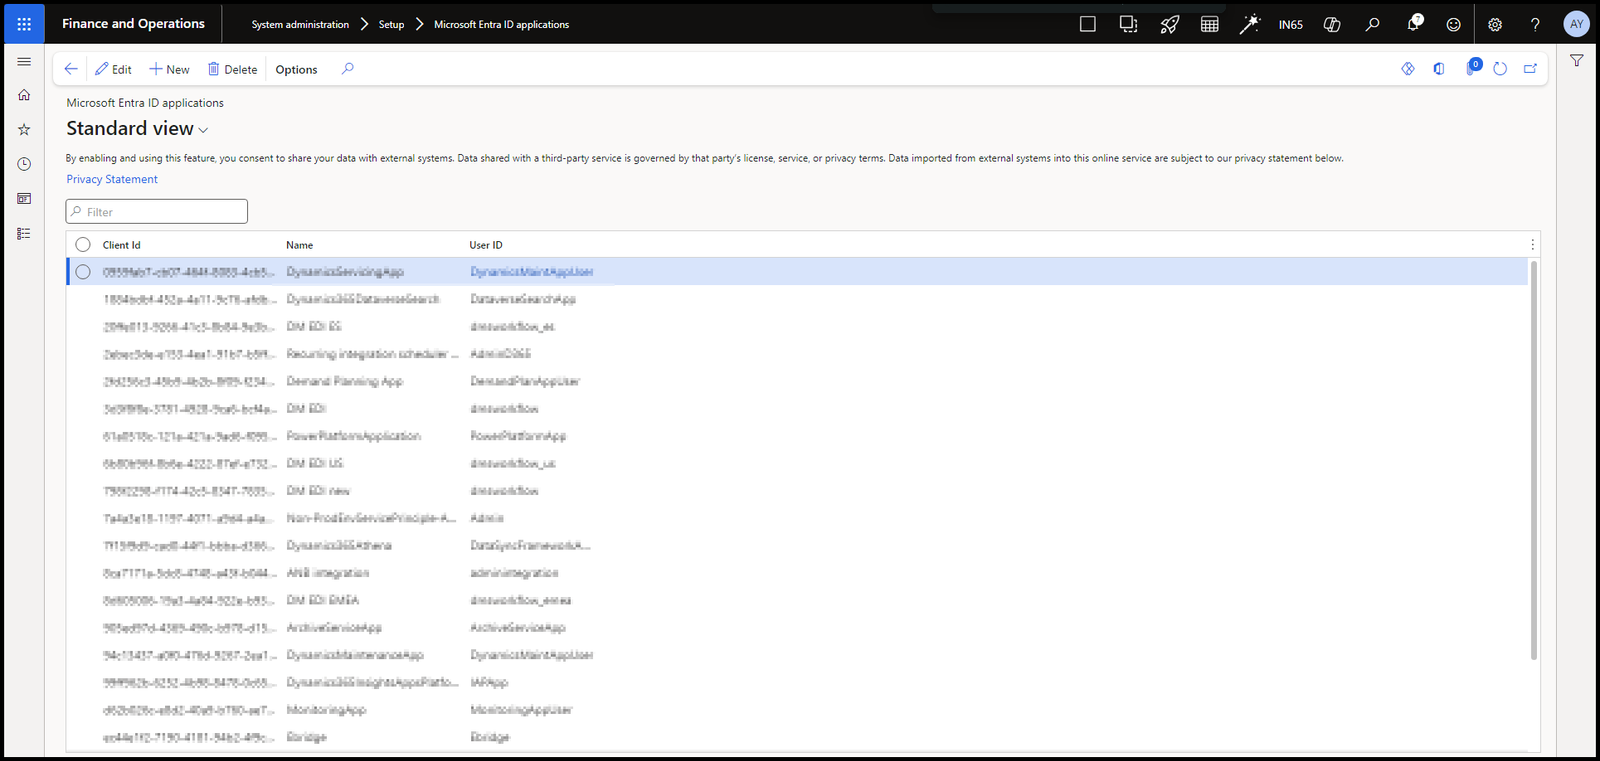
Step 4: Now give application id created in step in the “Microsoft Entra ID applications” form in Microsoft Dynamics 365 Finance and Operations as shown below
Step 5: Now we just need to configure the Power apps solution.
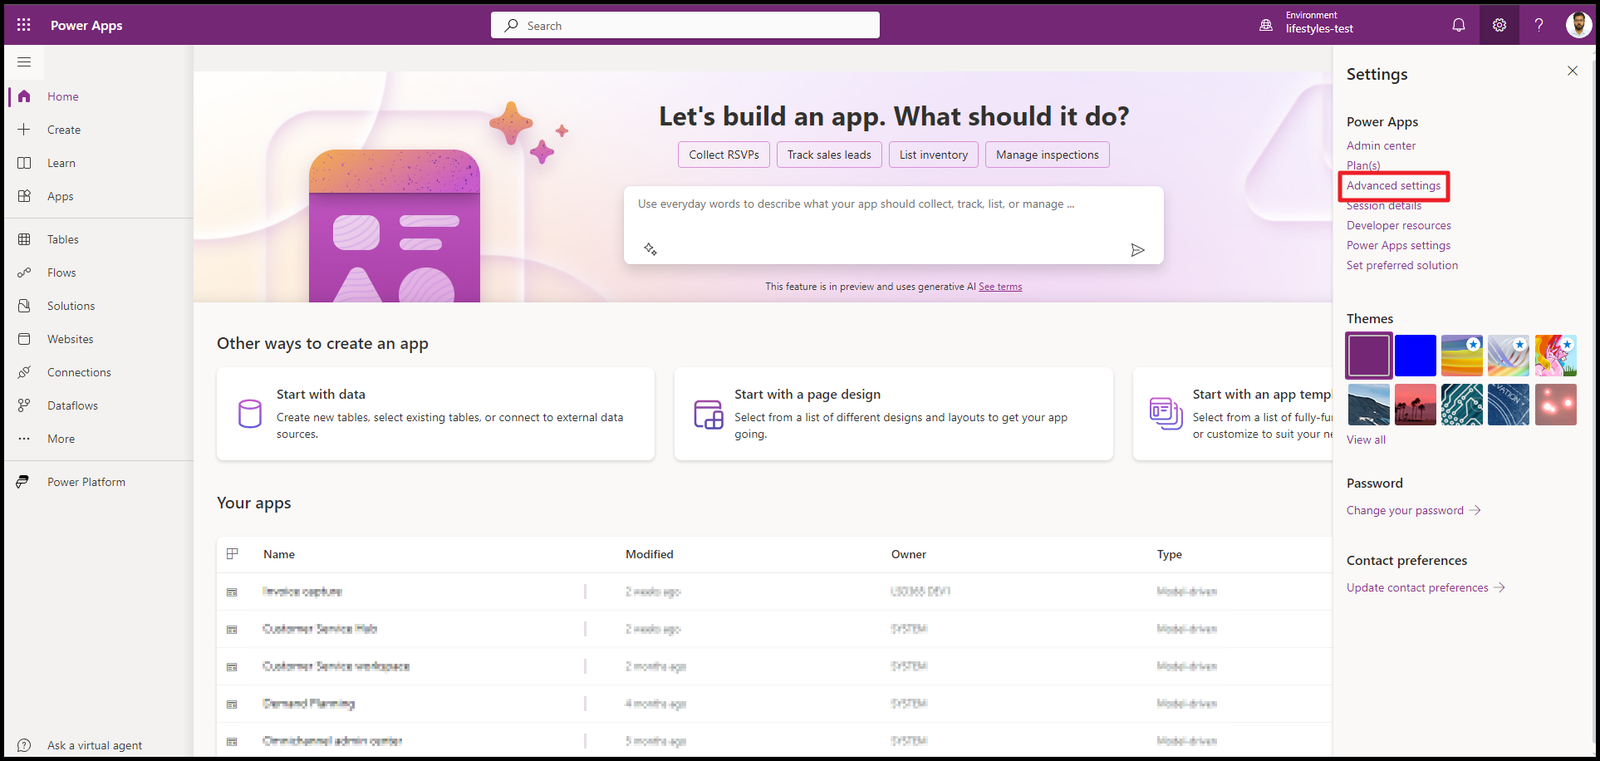
Go to Power apps portal
Now click on settings in the top right and then click on advanced settings as shown below
A new window will open as shown below
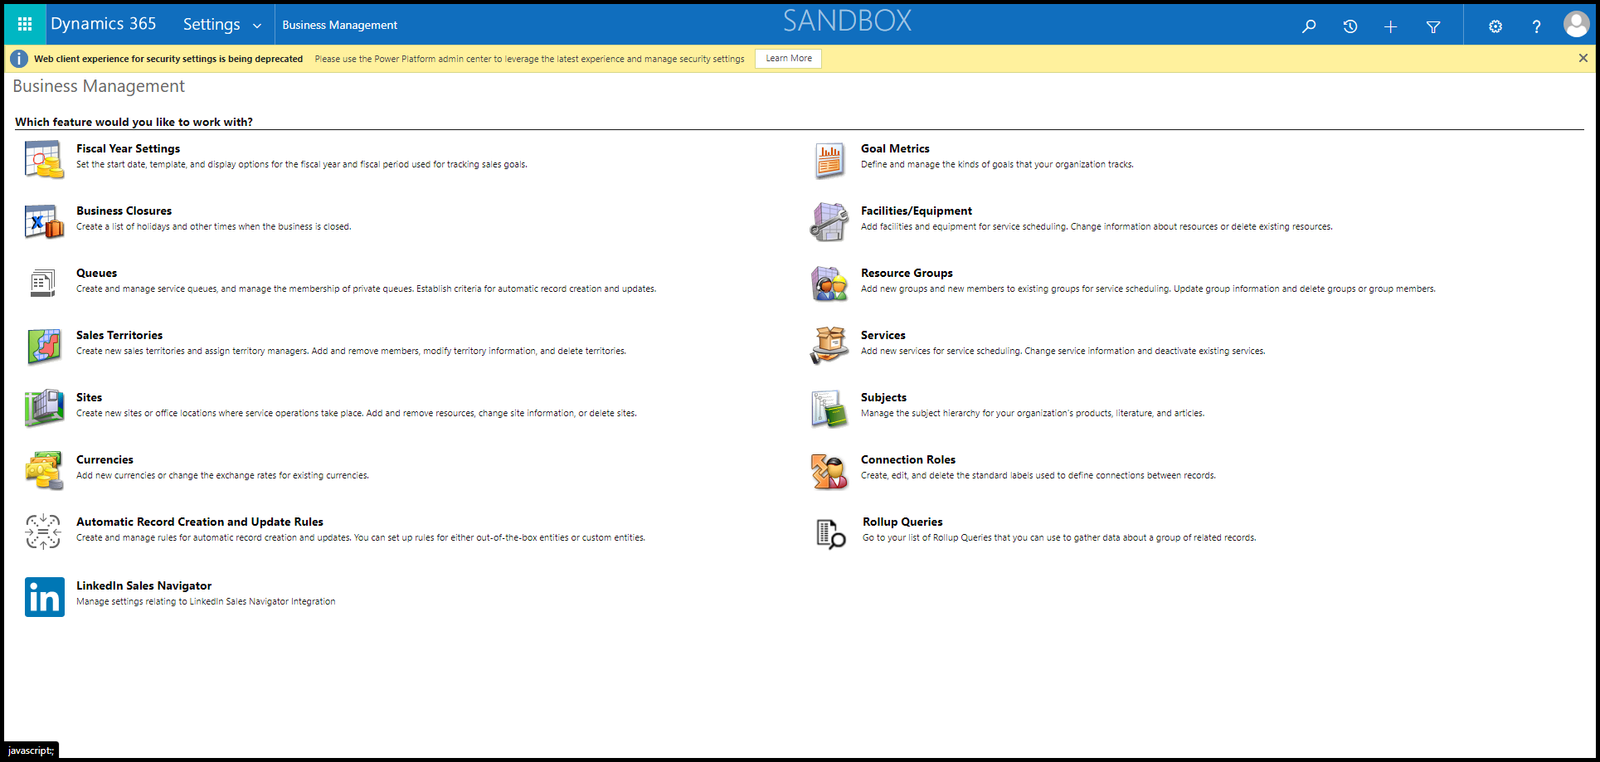
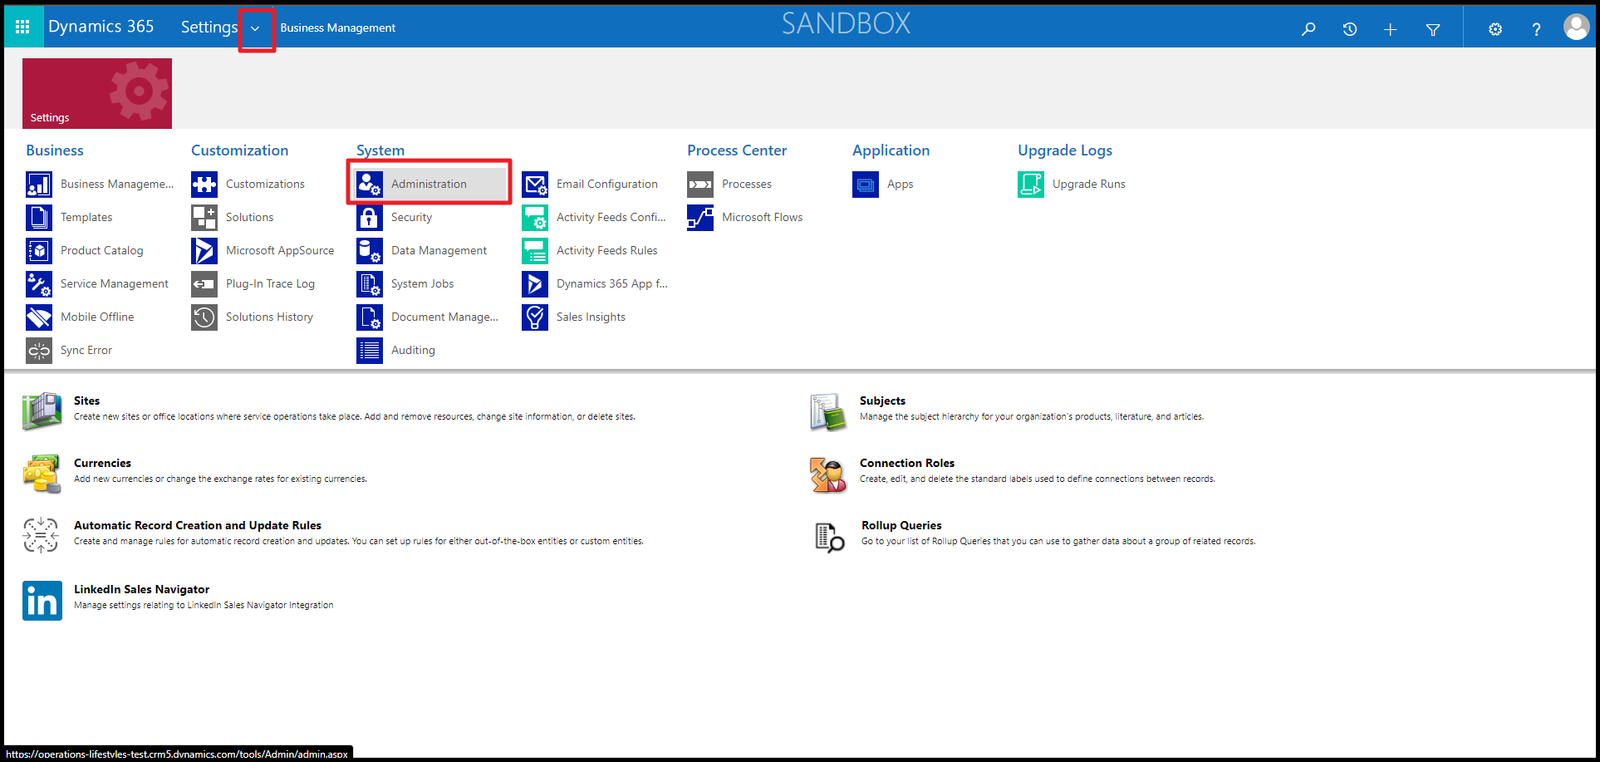
Now click on arrow next to settings and click on Administration as shown below
Now you will see Virtual entity data sources, click on it as shown below
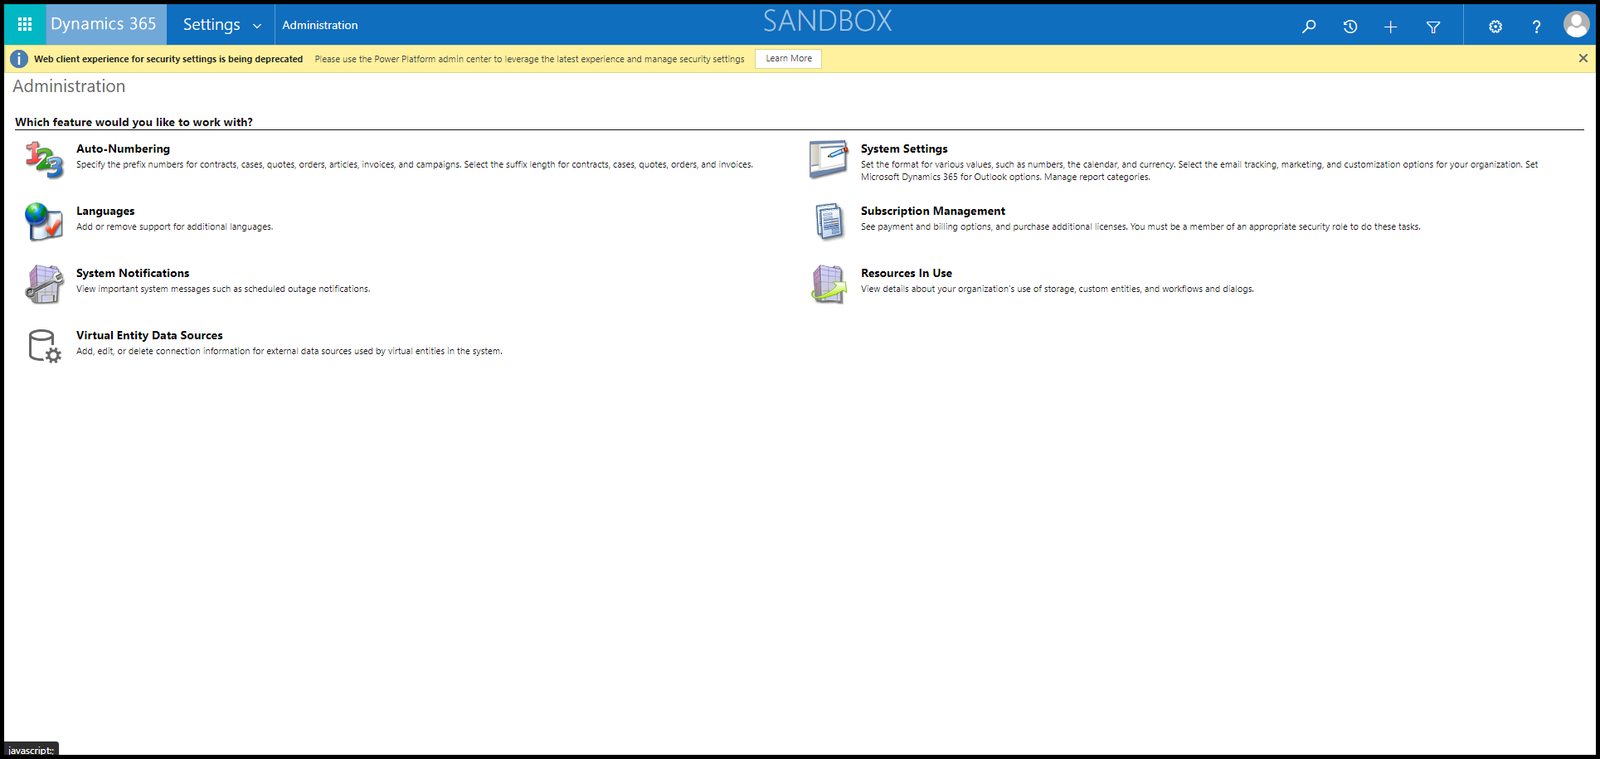
Now a new form will open as shown below
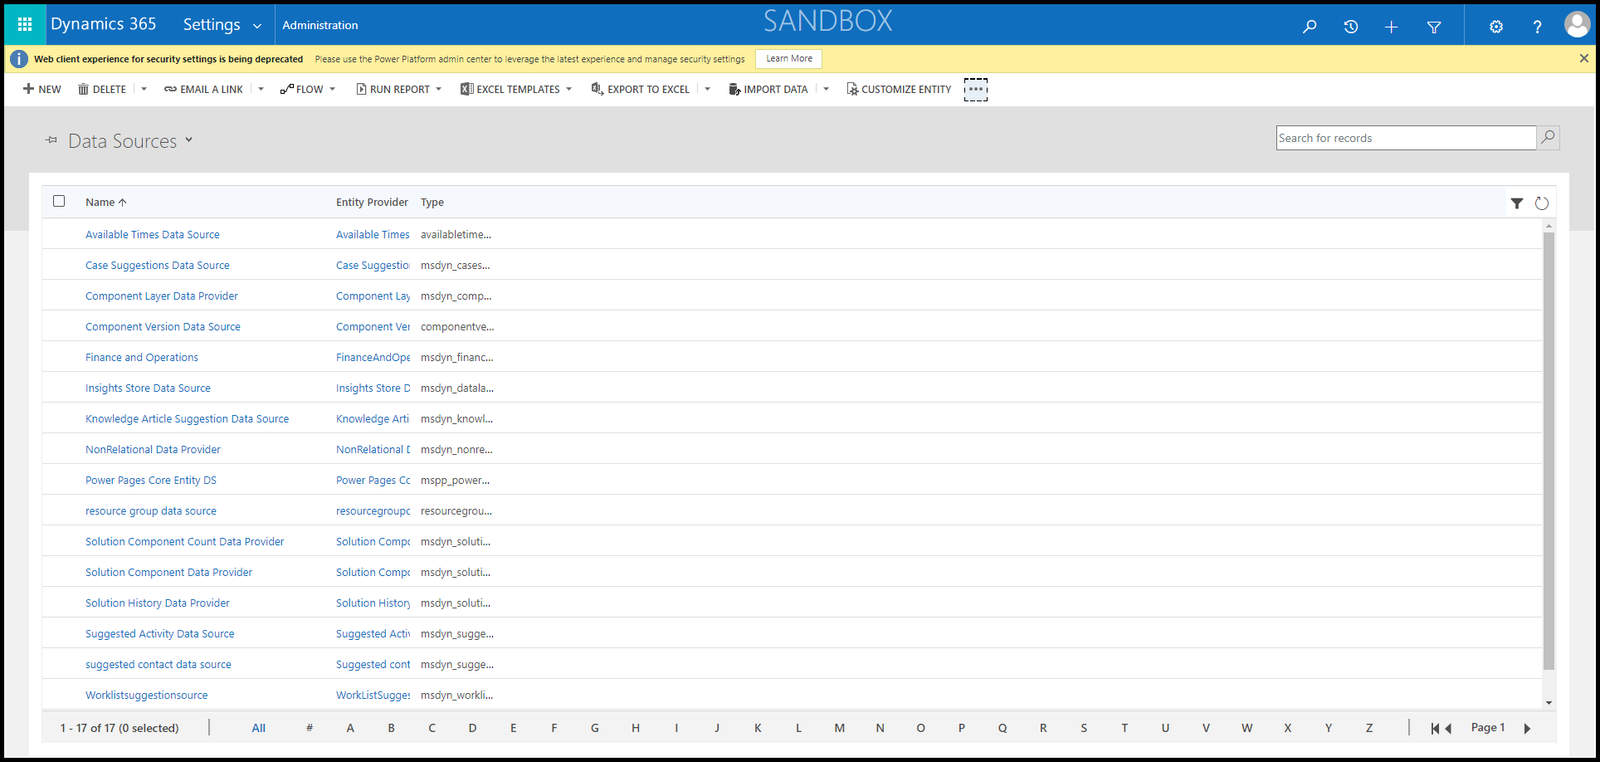
Now click on Finance and Operations, a new form will open as below
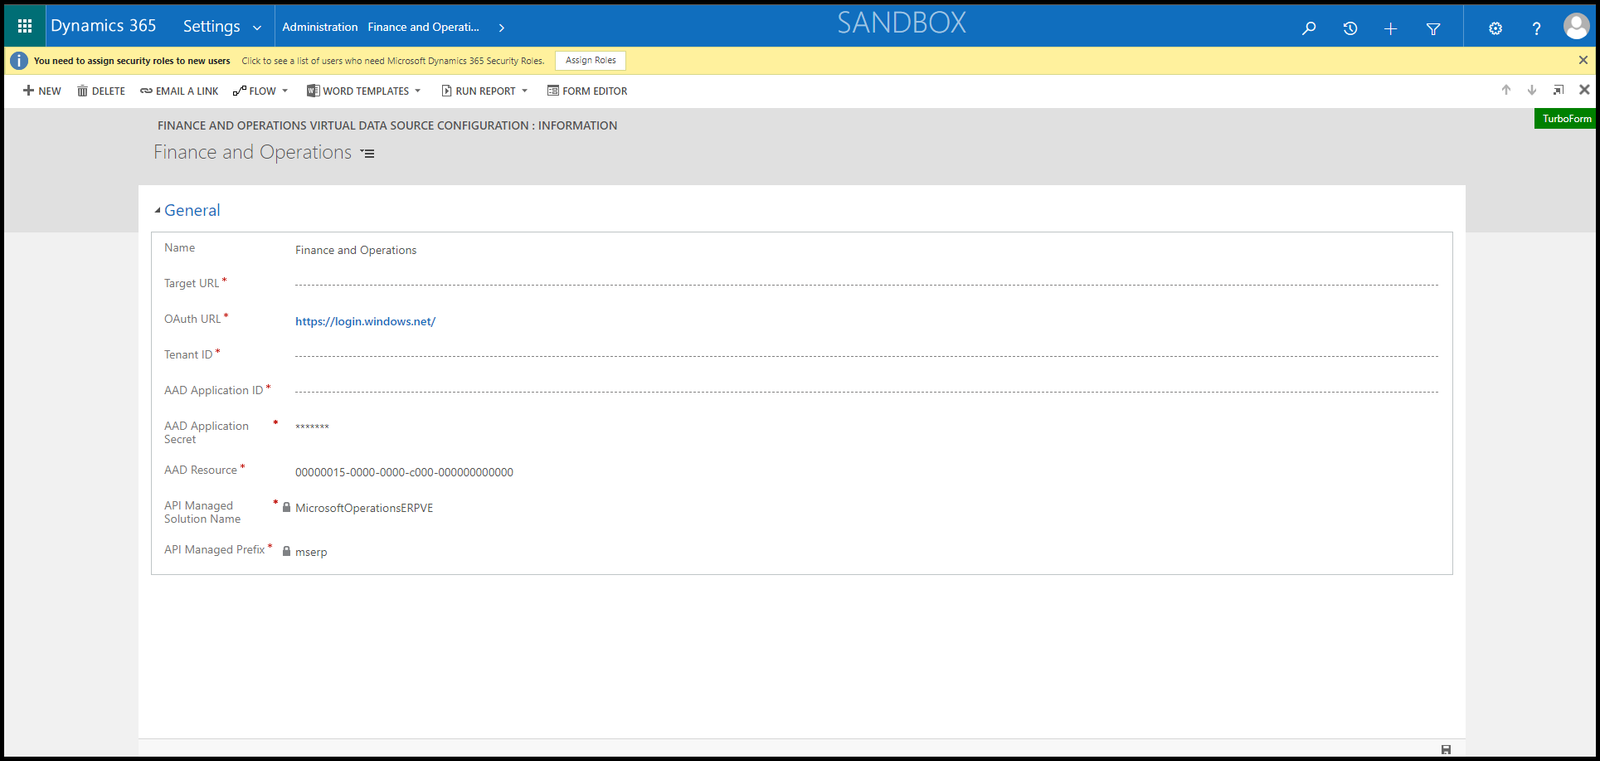
Below is the filled data
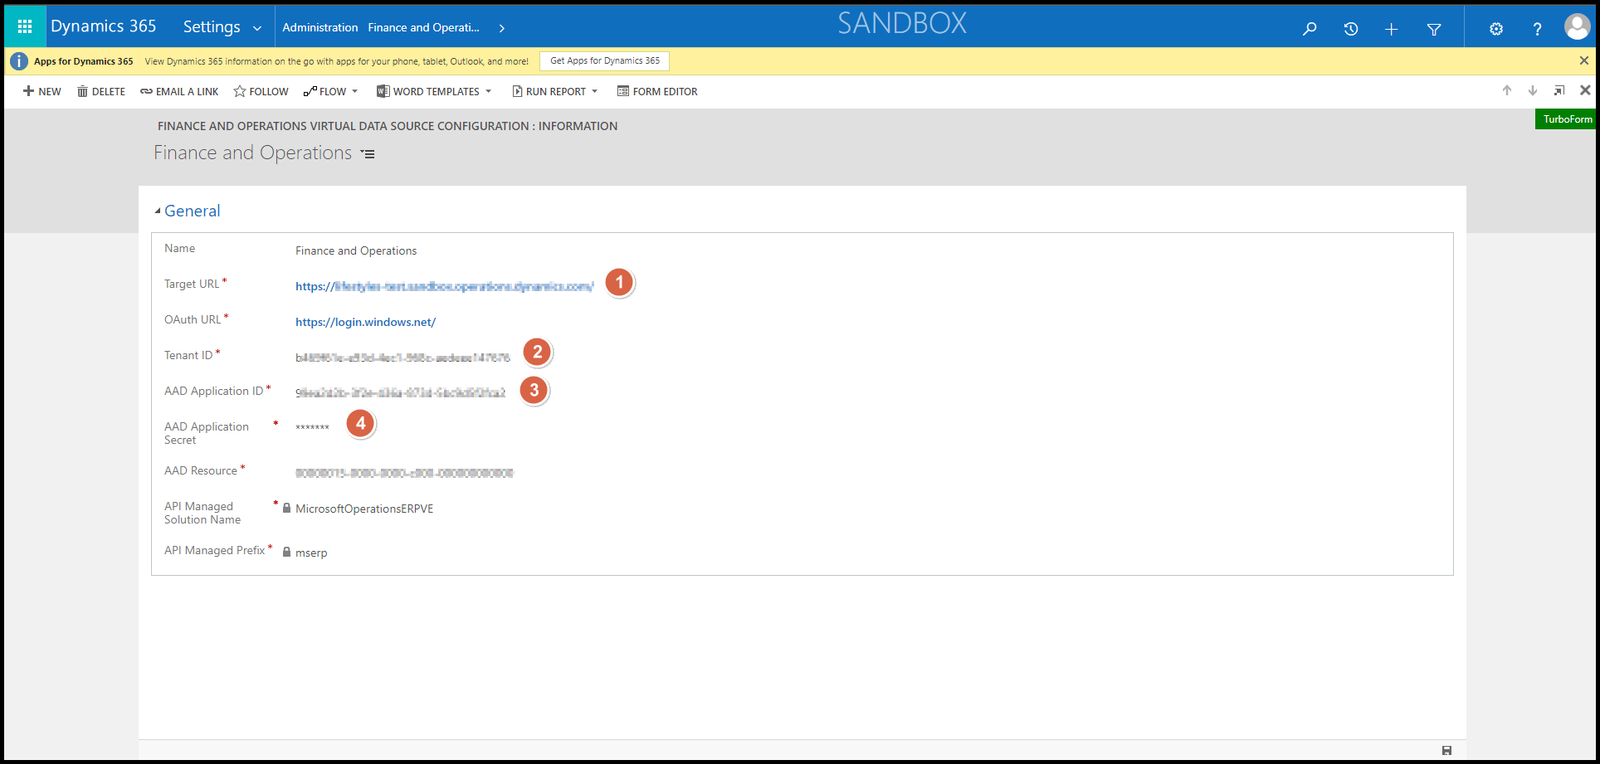
- Environment URL
- Tenant ID that we had in Step 2
- Application ID that we had in Step 2
- Secret key that we had in Step 2
Power apps solution is configured.
Step 6: Now we will just add the data entity as virtual entity
Go to Power apps Home
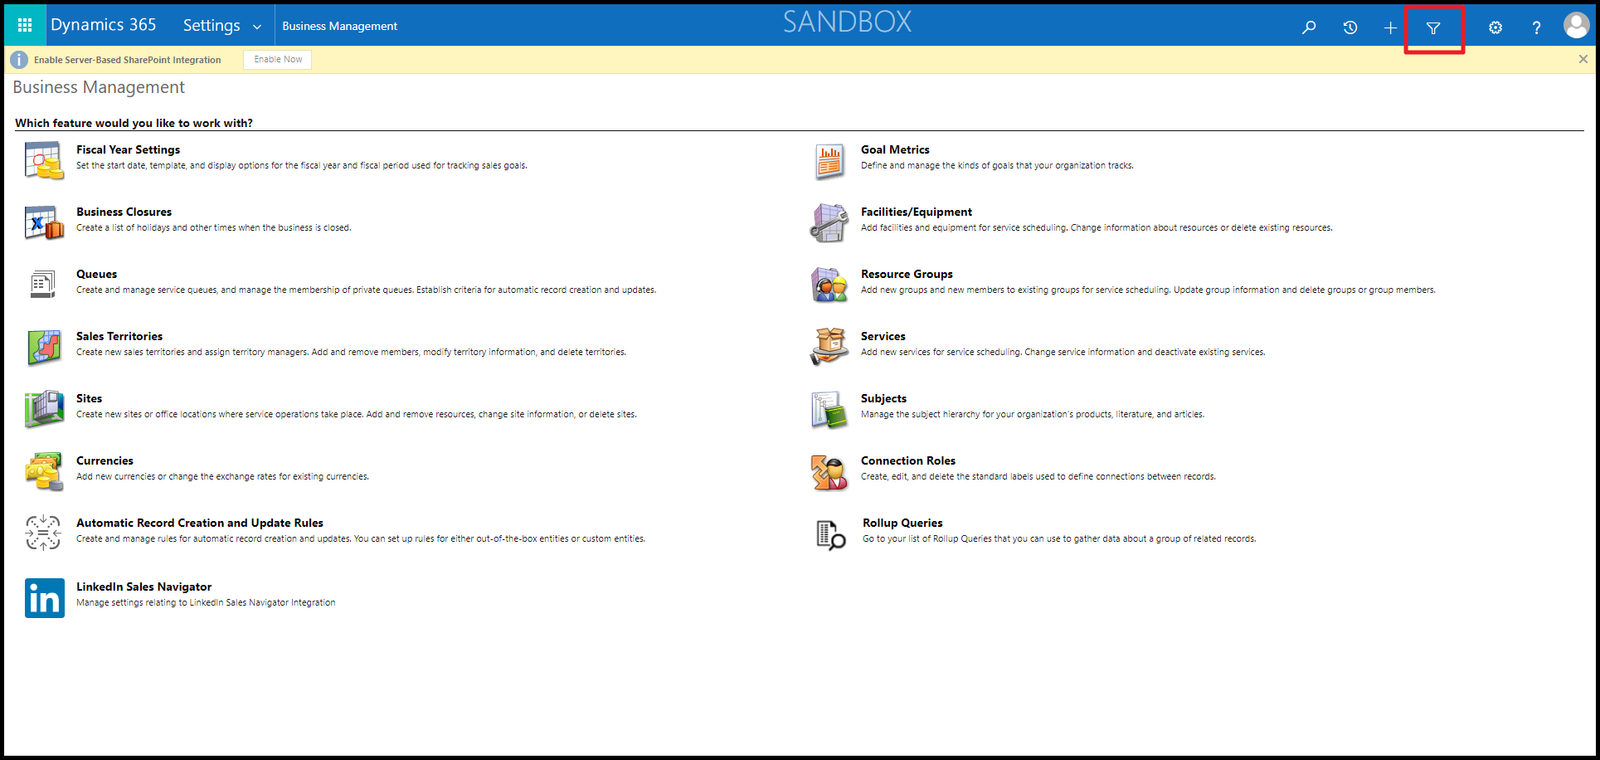
In the settings, click on advanced settings as done above. Below screen will open, now click on pin as shown below
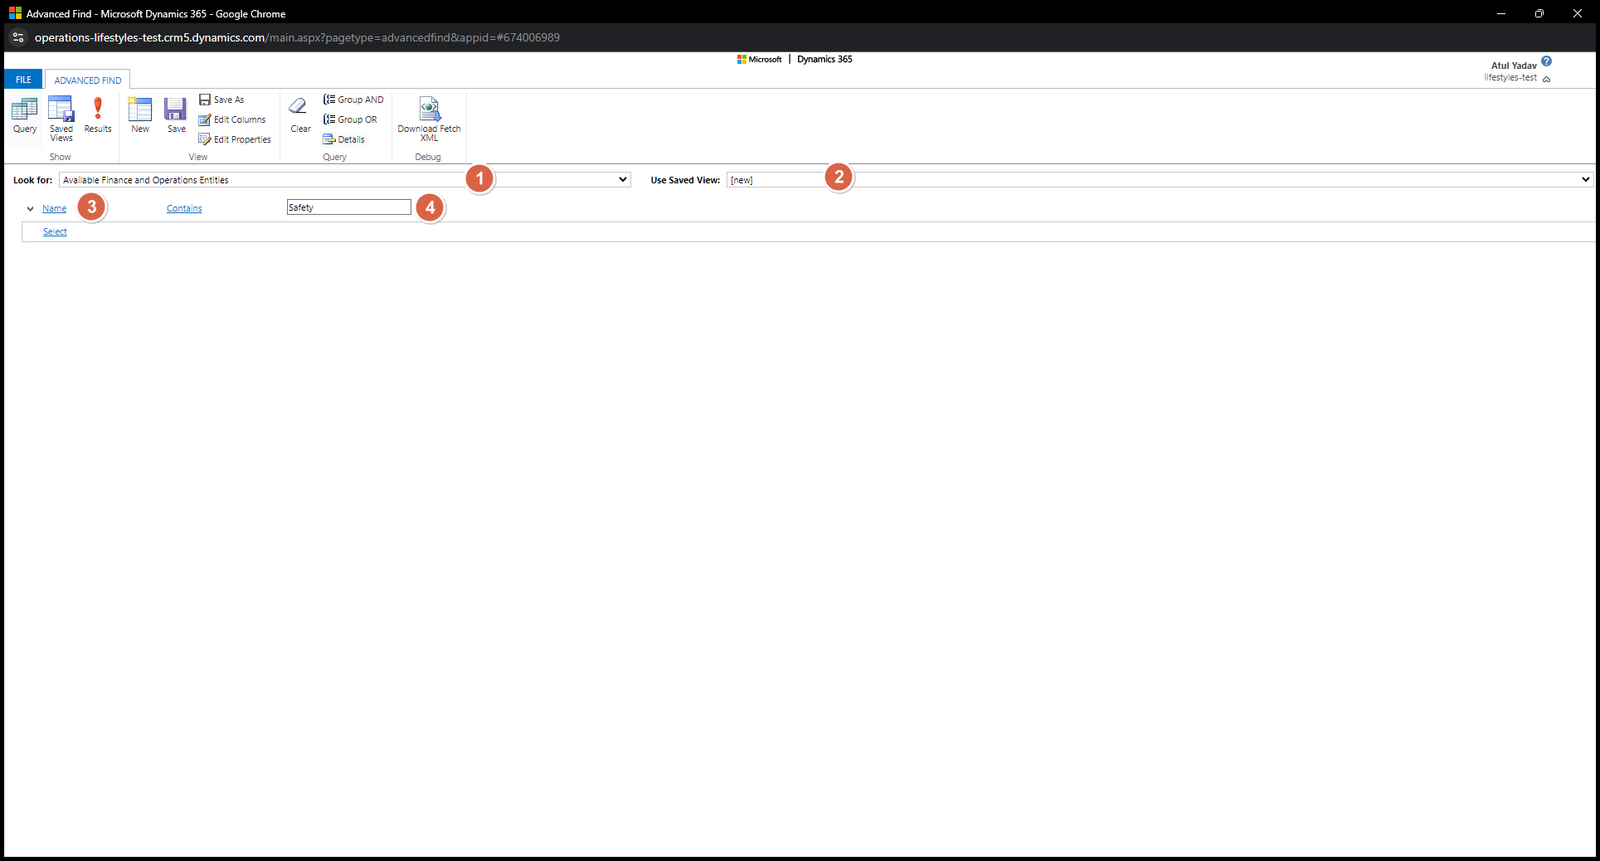
A new window will open, now in
Look for: “Available Finance and Operations entities”
Use saved view: “[new]”
then apply filter of name, I have chosen as ‘Safety’ as shown below
Now just click on Results in the action pane and resulte will be in front of you as shown below
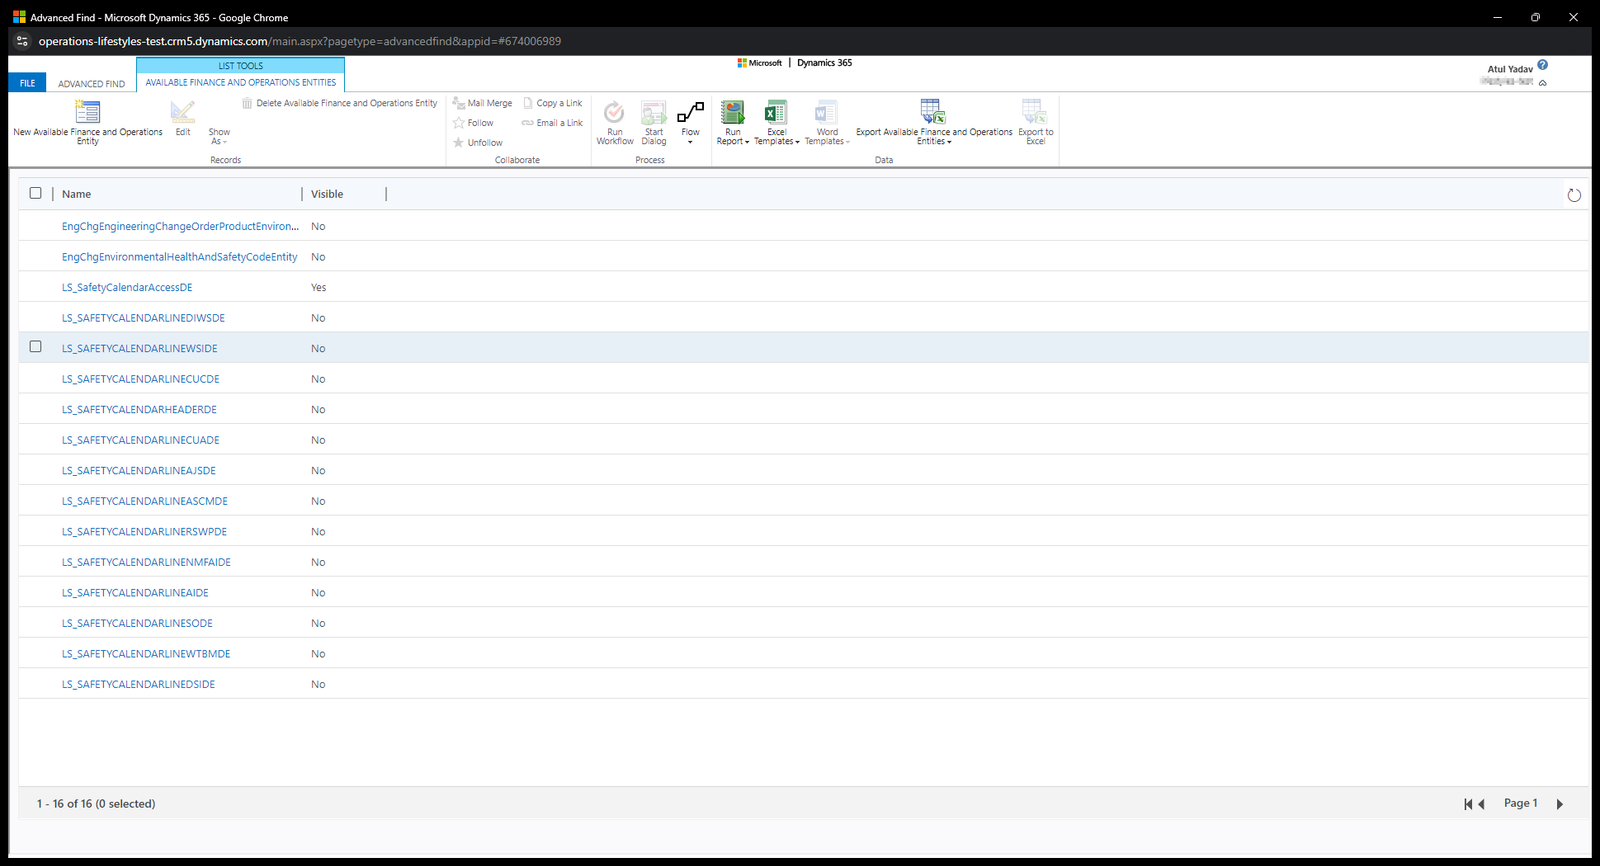
Now lets say I want to make available 4th entity from the top “LS_SAFETYCALENDARLINEDIWSDE”, just click on it, a new window will open as shown below
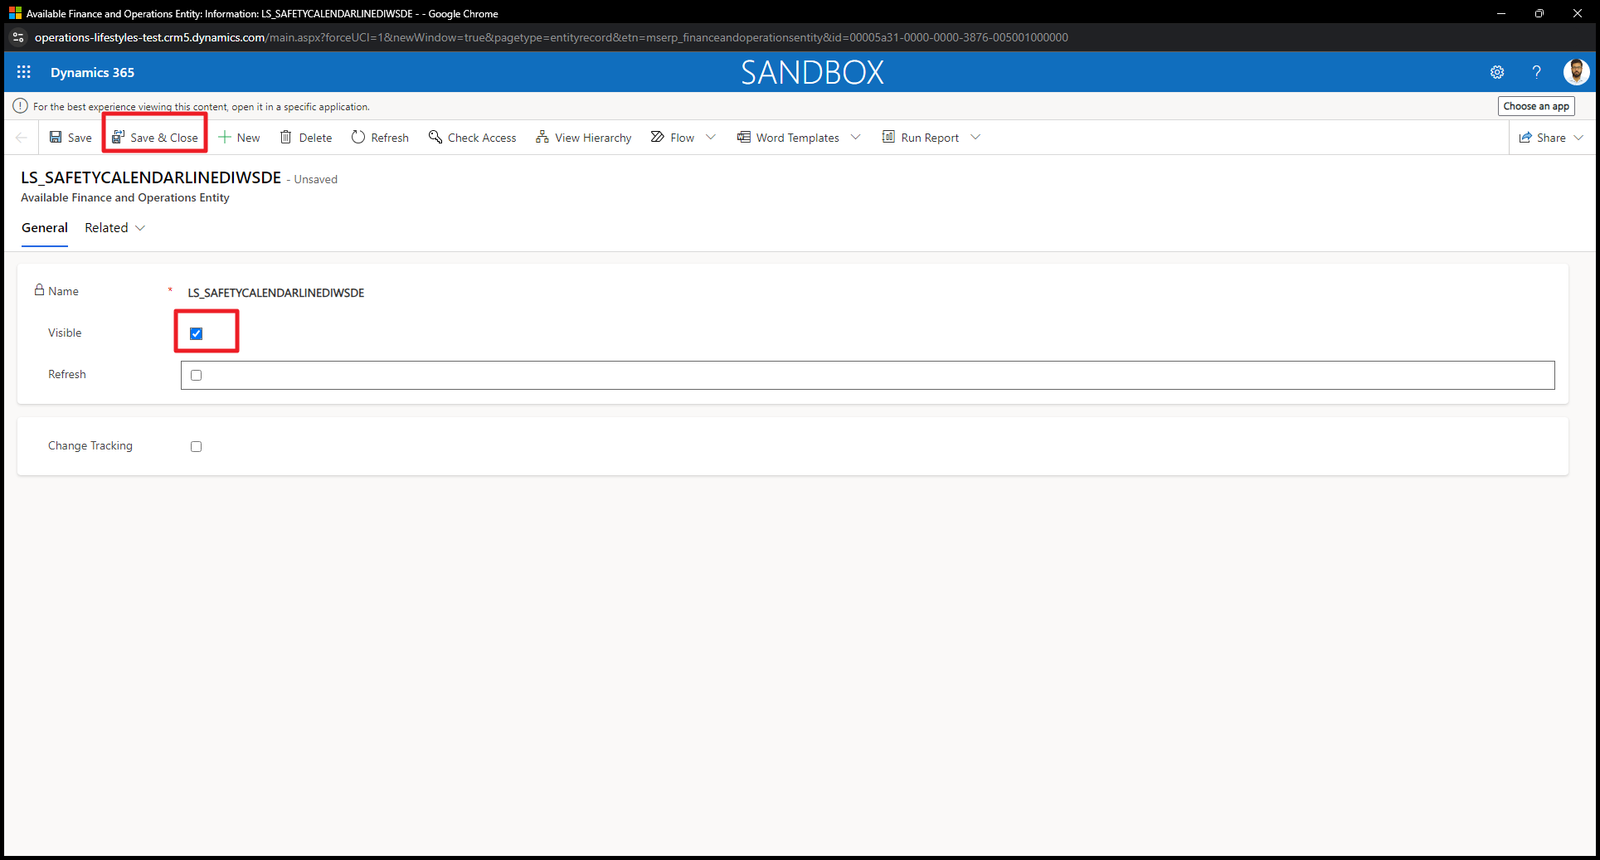
Just tick on visible and click on save and close. Now it is available in CDS.
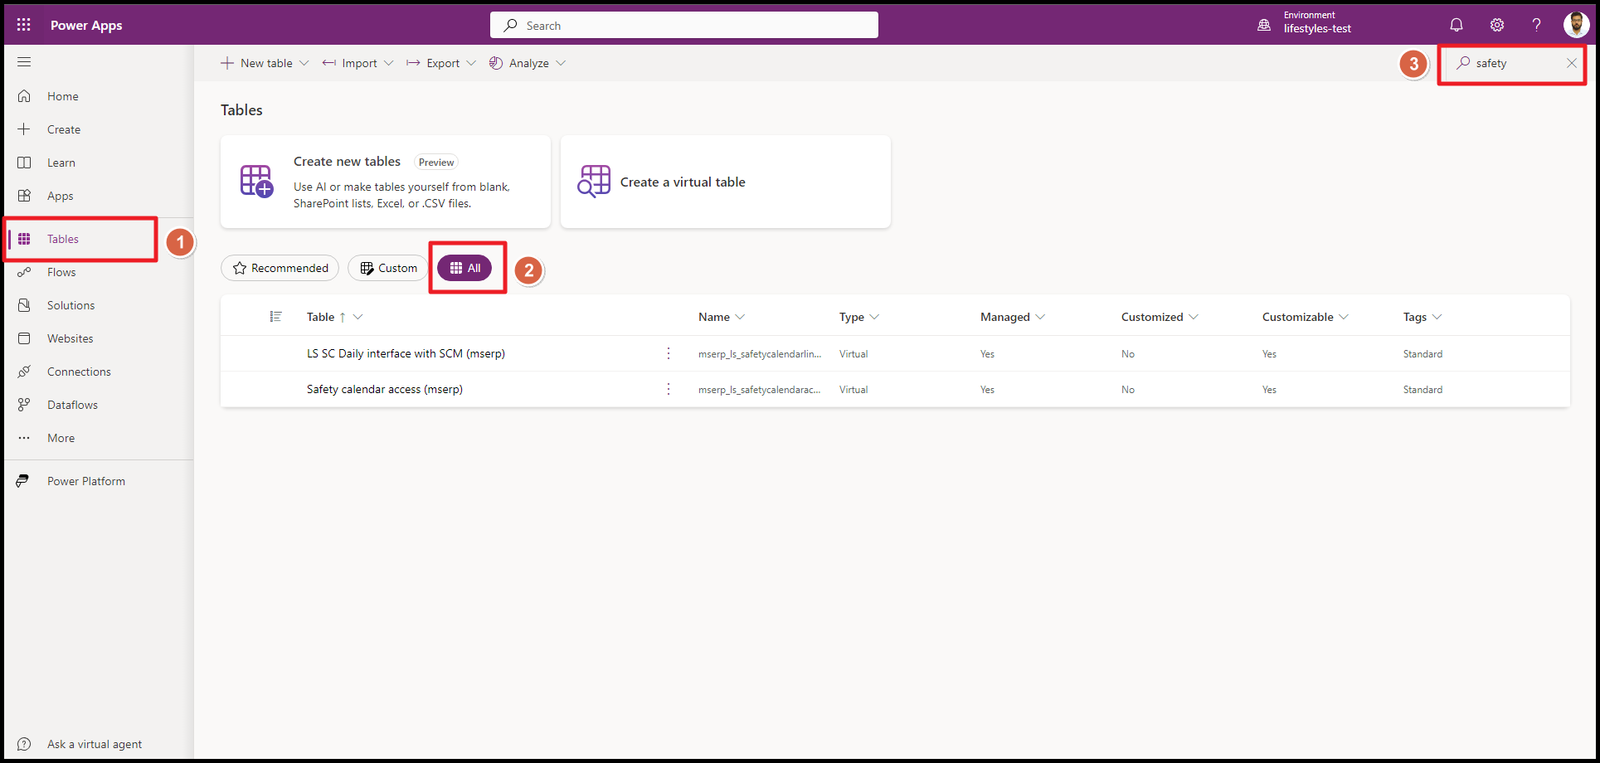
Step 7: To check if it is in CDS we just need to go to Power apps portal
Click on tables in the left side pane, click on All tables and apply filter in the top right side of the page, in my case I am filtering with Safety.
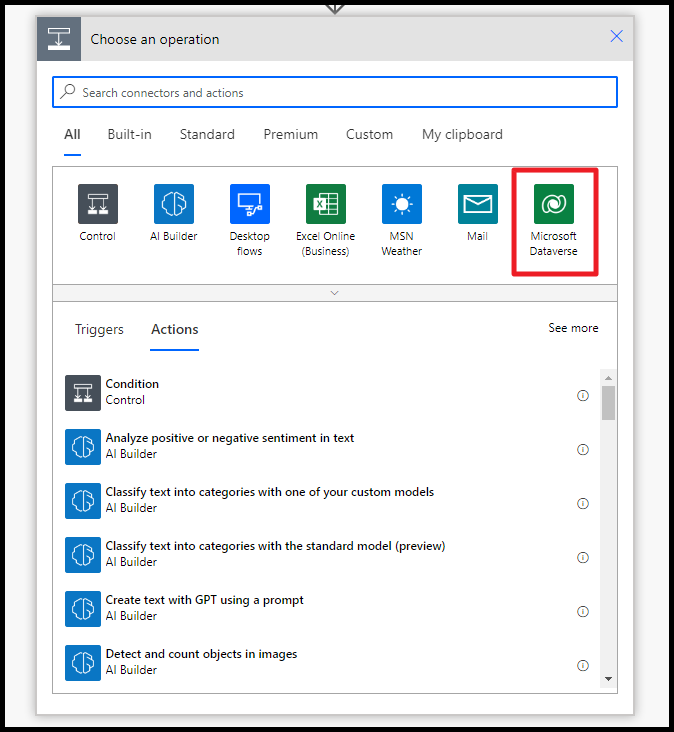
Now just to test, We will create a simple power automate flow
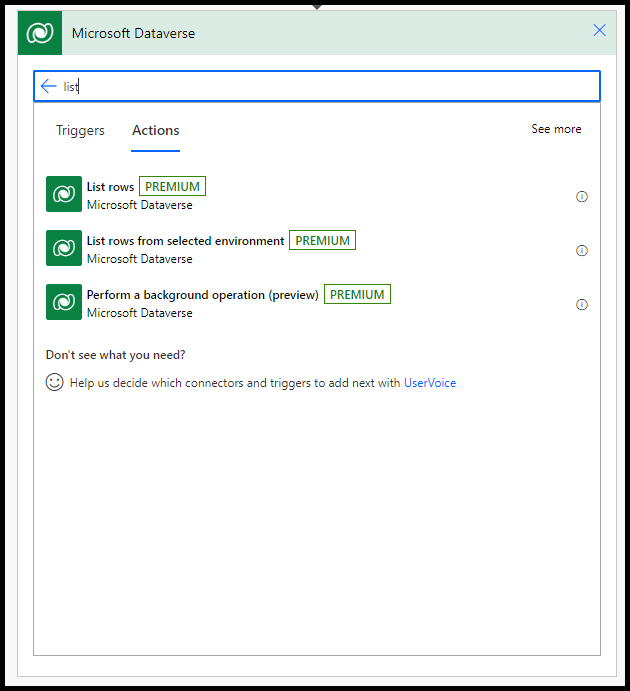
Step 1: Create trigger as Recurrence and in the action search for Microsoft DataVerse as shown below
Step 2: Search for list rows as shown below
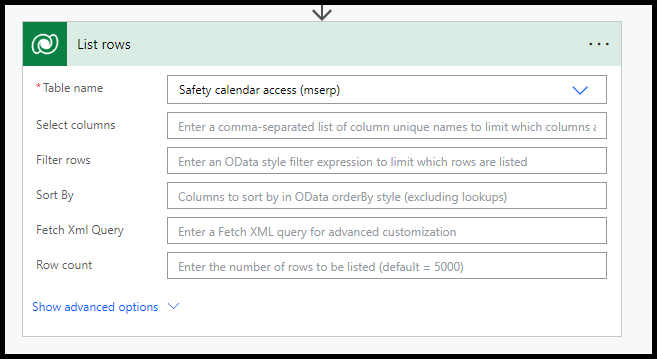
Step 3: Now you will see a form as below, look for your table name as shown below (You may select the columns, apply filter or sort the data)
Now just run the flow.
You can also check out my previous blog on how to browse table in D365 : D365 table browser
Need help? Connect Atul
His proficiency in Azure integration further distinguishes his capability, facilitating seamless connections with Dynamics 365 F&O and enhancing business operations. Committed to project success, he provides ongoing support and shares industry insights through his blog, contributing to the professional community's growth.
- Key Vault parameters in Dynamics 365 F&O - July 29, 2025
- User-based authentication RSAT - July 22, 2025
- Boost First-Load Performance in Dynamics 365 F&O with IIS Preload - July 15, 2025